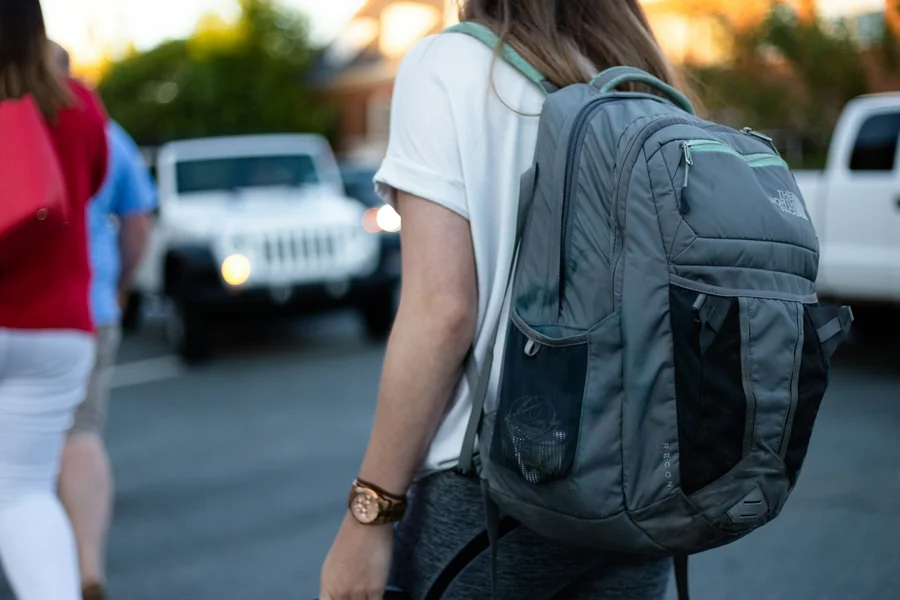
Crafting The Perfect Pack: Essential Tips For Sewing A Kids’ School Backpack
Back-to-school shopping is a yearly ritual, but finding the perfect backpack often feels like a treasure hunt. Store-bought bags often lack durability or the specific pockets your child actually needs. That’s why so many parents and crafters are turning to their sewing machines to create custom school bags.
Sewing a backpack from scratch might sound intimidating, but it’s actually a highly rewarding project once you break it down into manageable steps. The secret to a successful bag isn’t just a good pattern; it’s selecting the right structural components. You need durable main fabrics, strong zippers, and high-quality narrow goods like nylon webbing and binding tape to pull the whole thing together. If you’re ready to tackle a custom backpack for your student, here are the essential tips you need to ensure the final product survives the school year.
Selecting the Right Main Fabric
Kids are notoriously tough on their belongings. They drop their bags on the pavement, drag them across the playground, and stuff them full of books. A standard quilting cotton just won’t hold up to that kind of daily abuse without some serious reinforcement. When picking your exterior material, look for something inherently sturdy. Canvas, waxed canvas, and specialized packcloth are fantastic choices. These materials resist tearing and naturally repel water, which is a lifesaver when a juice box spills or it starts raining at the bus stop. If your child has their heart set on a specific cotton print, you can still use it. Just make sure you back it with a woven interfacing to give it the necessary structure and strength to survive the semester.
Prioritizing Comfort with Padded Straps
A bag full of textbooks and school supplies gets uncomfortable quickly. If the straps dig in, your child won’t want to carry it, so don’t skip the padding. You can use specialized foam stabilizer, high-loft fleece, or even repurposed neoprene to give the straps a soft, cushioned feel. When designing the straps, make sure they’re wide enough to distribute the weight evenly across the shoulders. It’s also a smart idea to add a layer of foam to the back panel of the bag. This prevents sharp pencils, spiral notebook rings, and hard lunchboxes from poking the child in the back while they walk down the hallway.
Focusing on the Hardware and Webbing
The fabric’s only half the equation. The areas of a backpack that usually fail first are the straps, the buckles, and the zippers. Using cheap plastic hardware or flimsy zippers will only lead to frustration a few weeks into the school year. Invest in sturdy nylon webbing for the adjustable sections of the straps and the top grab handle. This webbing won’t fray or snap under pressure. Pair that webbing with high-quality slider buckles so the straps stay locked at the correct length without slipping. For the closures, always choose large, continuous zipper tape with sturdy metal pulls. A wider zipper coil glides more smoothly and handles the constant zipping and unzipping much better than a delicate dress zipper.
Designing Functional, Accessible Pockets
Organization is the key to a great school bag. Before you cut your fabric, think about what your child actually needs to carry every day. A dedicated water bottle pocket on the outside is almost a requirement. You can create a simple side pocket using a piece of stretch mesh and a bit of fold-over elastic along the top edge to keep the bottle secure. Inside the bag, consider adding a padded slip pocket for a tablet or a laptop. A zippered front pouch is perfect for holding smaller items like pencils, house keys, and a library card. Customizing the pockets means everything has a specific place, making it much easier for your child to find what they need when the bell rings.
Strengthening Your Seams
Constructing a backpack requires sewing through multiple layers of thick fabric, foam, and webbing all at once. You need to make sure your machine is up to the task by inserting a fresh, sharp needle designed for denim or canvas. As you sew, lengthen your stitch slightly. A short stitch perforates the fabric like a sheet of paper, causing it to tear along the seam line. When attaching high-stress areas like the shoulder straps or the top handle, don’t just sew a single straight line. Stitch a box with an X in the middle to anchor the straps securely to the back panel.
Finishing the Interior Cleanly
Most backpack patterns don’t use a traditional drop-in lining because it adds unnecessary bulk and can get caught in the zippers. Instead, the raw edges of the seams are exposed on the inside of the bag. To keep those edges from fraying and turning into a tangled mess, you need to bind them. You can use double-fold bias tape or a specialized binding ribbon to encase the raw edges. Binding the curves can be tricky, but taking your time with sewing clips results in a clean interior that lasts.
Wrapping Up the Project
Making a backpack from scratch takes a bit of patience and planning, but the payoff is incredible. You aren’t just making a practical item for the school year; you’re creating a one-of-a-kind accessory tailored exactly to your child’s personality and needs. When they walk into the classroom with a bag that fits them perfectly, holds all their gear, and features their favorite colors, they’ll feel a sense of pride that a store-bought bag just can’t match. Grab your supplies, thread your machine, and start sewing a school bag they’ll be excited to wear every single day.